Why should we repot an orchid? ....
Often its not because the orchid has out grown its pot, but because the old compost is beginning to break down and the air cannot get to the plants roots, which will cause them to suffer and possibly rot.
Take the time to maintain these beautiful flowers-- they will last longer than having flowers delivered to your door.
Mostly we now use clear plastic plant pots, why? - because you can see any root problems, and see how the plant roots are growing, and you can also see most pests which may have set up home in the pot.
Phalaenopsis orchids and others which normally grow on things rather than in the ground are used to having their roots exposed to light, indeed they seem to enjoy it, so clear pots do give them a little more encouragement.
Terrestrial orchids can also be planted into a clear pot which in turn sits inside a standard coloured pot, you then can see at a glance what attention the roots may need, having chosen you pot, and compost, and a clean pair of cutters - its always a good idea to either dip them in methylated spirits in or pass the blades through a flame, i.e. Bunsen burner, or even a gas lighter to avoid cross contamination with virus or pests.
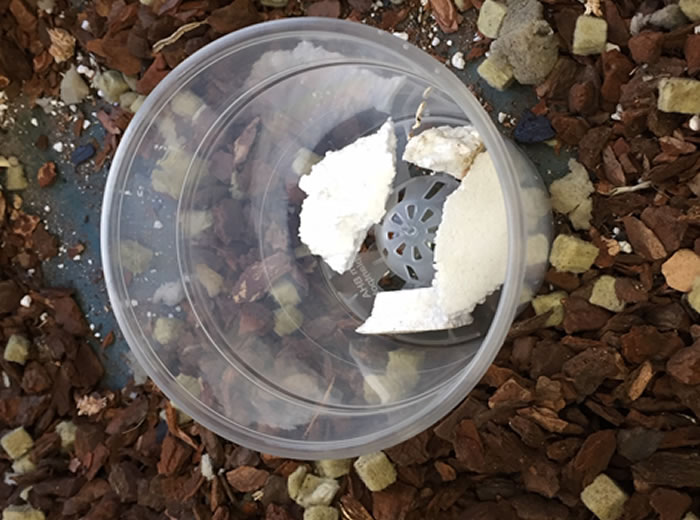
Step one - the correct compost. choose a compost which suits you as well as your orchid, ideally orchids like well drained compost, so if you are able to water regularly, then choose a very open compost, we would recommend orchiata bark orchid compost.
If you cannot water as frequently as you would like, make the compost more water retentive, by doing a little mixing. orchid grade bark chippings come in differing sizes, if the plant roots are thick choose a larger one, if they are small and thin then choose small chippings. They make a good general compost .
Perlite or sponge rock (which is large perlite) and foam a recent addition to the potting medium's this one is ideal for Phalaenopsis and those plants requiring a little more moisture retention. Sphagnum moss, bark & foam mix a good starter for seedlings or very thinly rooted plants, will dry out very fast, so watch out for under watering. Rock wool Usually rock wool is mixed with a little perlite, and can be a good mix for Phragmipediums, advantages, is an inert medium, and certainly contains nothing to harm your plant roots, always flush through very well when watering to avoid a build up of salts, dis-advantages can seem dry on the surface even when very wet underneath, and over time breaks down into a hard mass.
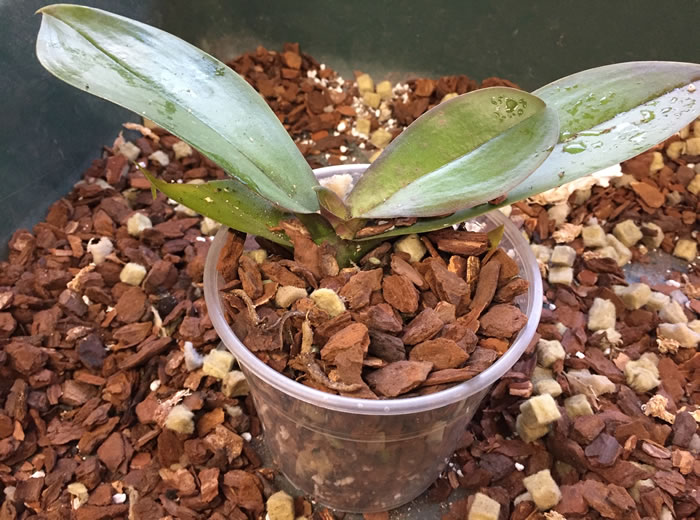
Step two - Choose a Plant Pot suitable for your orchids, firstly, they do seem to do best in clear pots, don't think that you must repot an orchid into a larger pot, often they will return to the same pot quite happily with just a change of compost, never over pot, orchids are happiest when tucked tightly into bed.
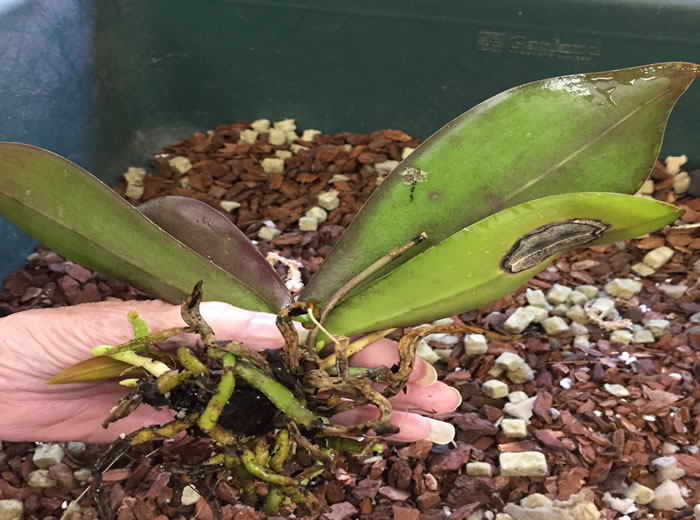
step three - Remove the old compost and throw it away, look for root damage, and pull off any dead roots, they will come away easily with gentle pressure if they are dead, leaving a fine wire like centre which can be trimmed off; trim off leaf damage with sterile snips - sometimes Phalaenopsis orchids produce aerial roots, these can be left above the compost, or it you wish to be tidy placed inside the pot with the other roots, where they may re surface or probablyy perish.
Step four - Hold the plant in place inside the pot keeping the base of the plant roughly where it should eventually rest, i.e. in line with the top of the compost, with your other hand, begin to drop compost around the roots, tapping the pot firmly as you do so to shake the compost down amongst the roots, when the compost is almost level with the leaves, the jobs done, there may well be some gaps which you can see through the side of the clear plant pot, don't worry the odd air chamber is beneficial to the plant roots.
Note the example above is a phalaenopsis which is a monopodal orchid, i.e. it produces new growth from the top, if it is a simpodial orchid which produces new growth from the base of last years growth (sideways) then leave enough room on around the plant to accomodate the new years growth.
Read Cultural Information...
Categories, plants, orchids, how to repot orchids, The North og England Orchid Society